PC Master
Let’s Build an N64-PC – Part 2
Now has come the time to rip apart the N64 in preparation for its new life as an N64-PC.
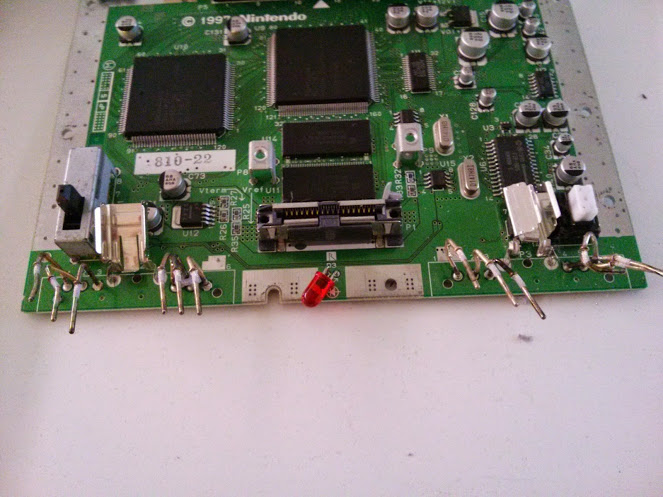
After first removing the top of the case, you are greeted with the following:
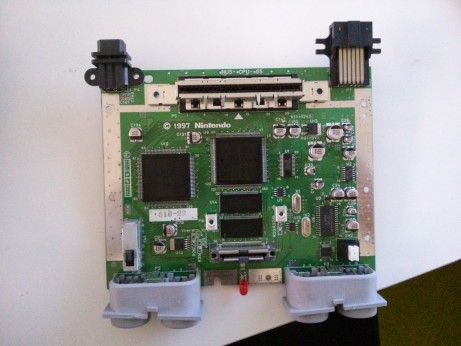
Notice what I assume is a massive heatsink.
I’m assuming that large metal piece (with all the screws in it) covering the motherboard is a heatsink of some sort, meant to keep the system at a reasonable operating temperature. Either way, it’s simple enough to remove using a standard Phillips screwdriver. Once removed, you can easily pull out the motherboard which looks like the following:
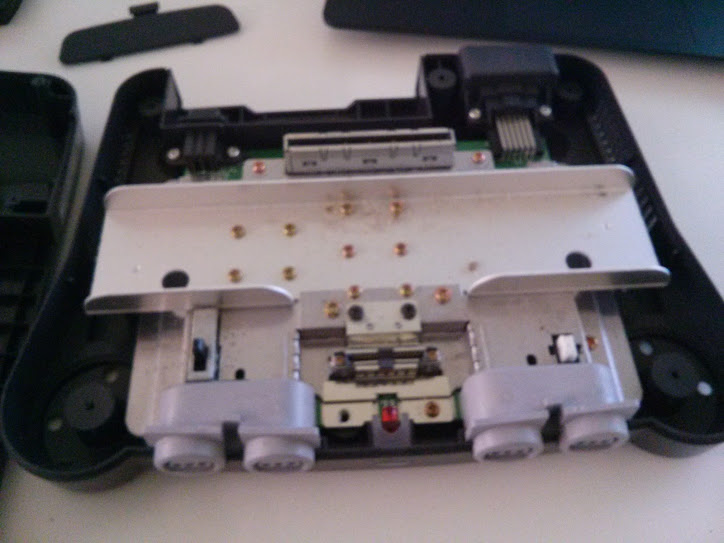
You can also see this in the post’s top image.
Perfect, the shell of the N64 is now empty. Hmmm, but what will we do with that leftover N64 jumper pack? Take it apart of course! Maybe I’ll use the case to put some USB storage in later.
All that plastic for that little chip.
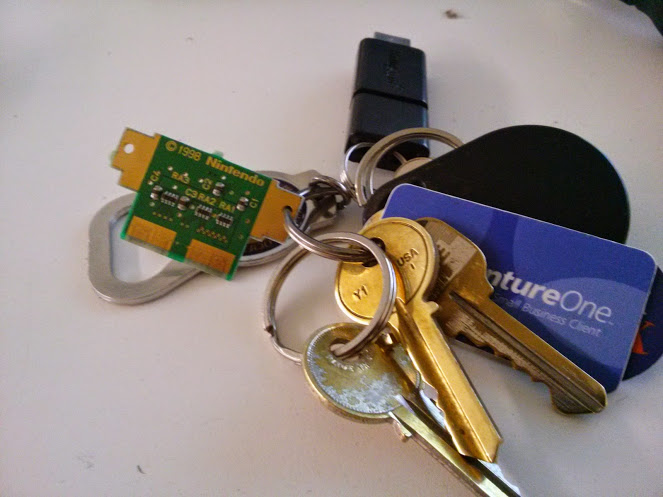
The chip makes a good accessory for the keychain though.
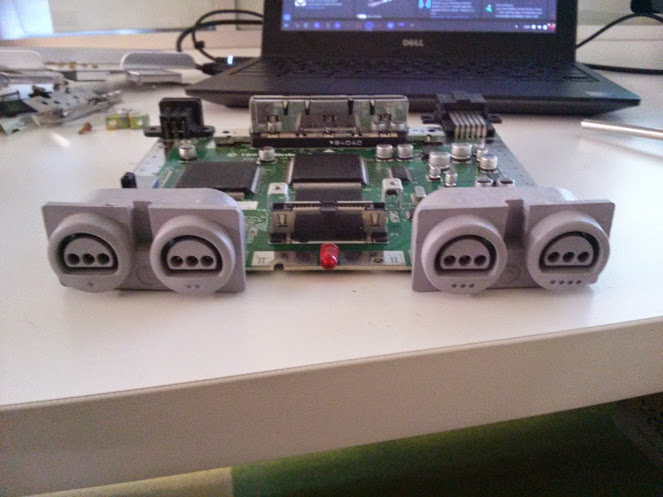
Now that the guts of the N64 have been removed, we need to get the controller ports off of the main circuit-board. While they’re on there pretty well, a bit of brute force will get them off. If you remember from the previous post, I’m hoping to 3D-print USB versions of the controller ports, so I need to save them to use as a reference.
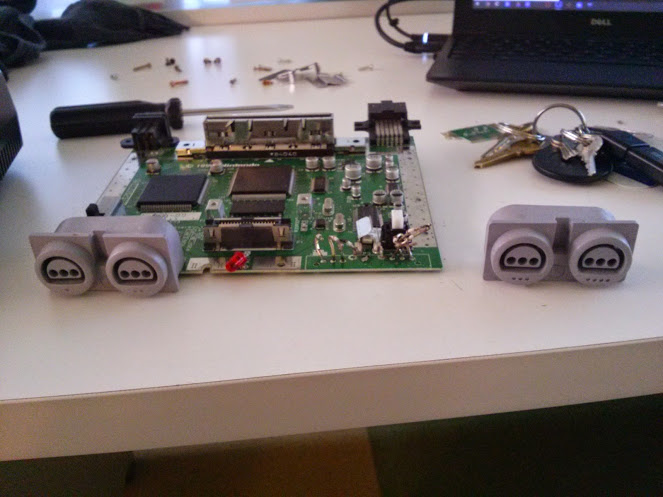
Screwdriver + Force will get them off.
These are the pins that reside in the controller ports.
Once that’s done, we can toss the motherboard into the junk pile with the rest of the computer refuse.

Fairwell little fella.
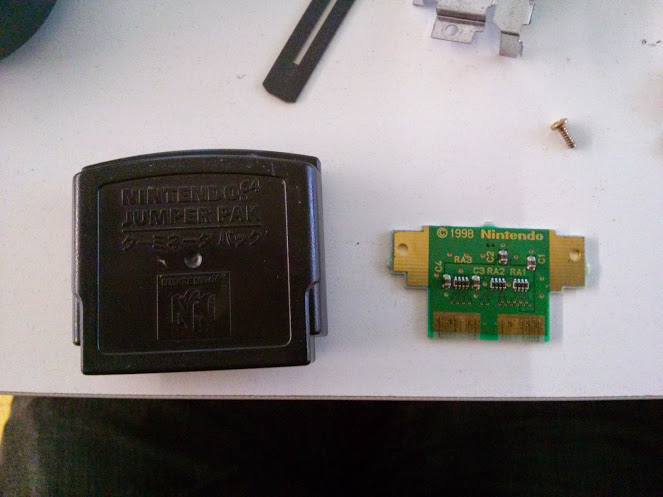
Now that’s I’ve got the empty shell of an N64, let’s turn our sights on an N64 cartridge. I’m debating putting a very small SSD inside (if my measurements are correct), that will allow me to “load” a cartridge” into the N64-PC before being able to use it. That said, I decided to sacrifice a copy of 007: The World Is Not Enough.
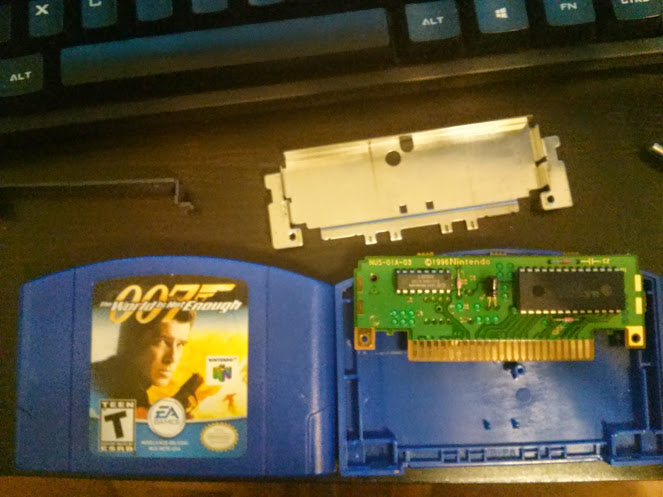
Notice how small the chip is compared to the shell of the cartridge.
I didn’t realize before this that the chip within the cartridges were so small. I had always assume they inside was full, in one way or another.
And that’s it! Now that I’ve got an empty N64 and cartridge, I can begin construction of the N64-PC. I’m just waiting on the SSD to arrive, as CanadaPost has somehow messed up my delivery (yay, CanadaPost).
Stay tuned for the next post where I’ll chronicle the fitting of a PC inside an N64.
Jason Lamb
Jason is a PC Gaming aficionado from the Great White North. You can follow him on Twitter @jasonlamb.
See all posts by Jason Lamb