PC Master
Let’s Build an N64-PC – Part 4
In this installment I’ll discuss getting the computer to fit in the case itself.
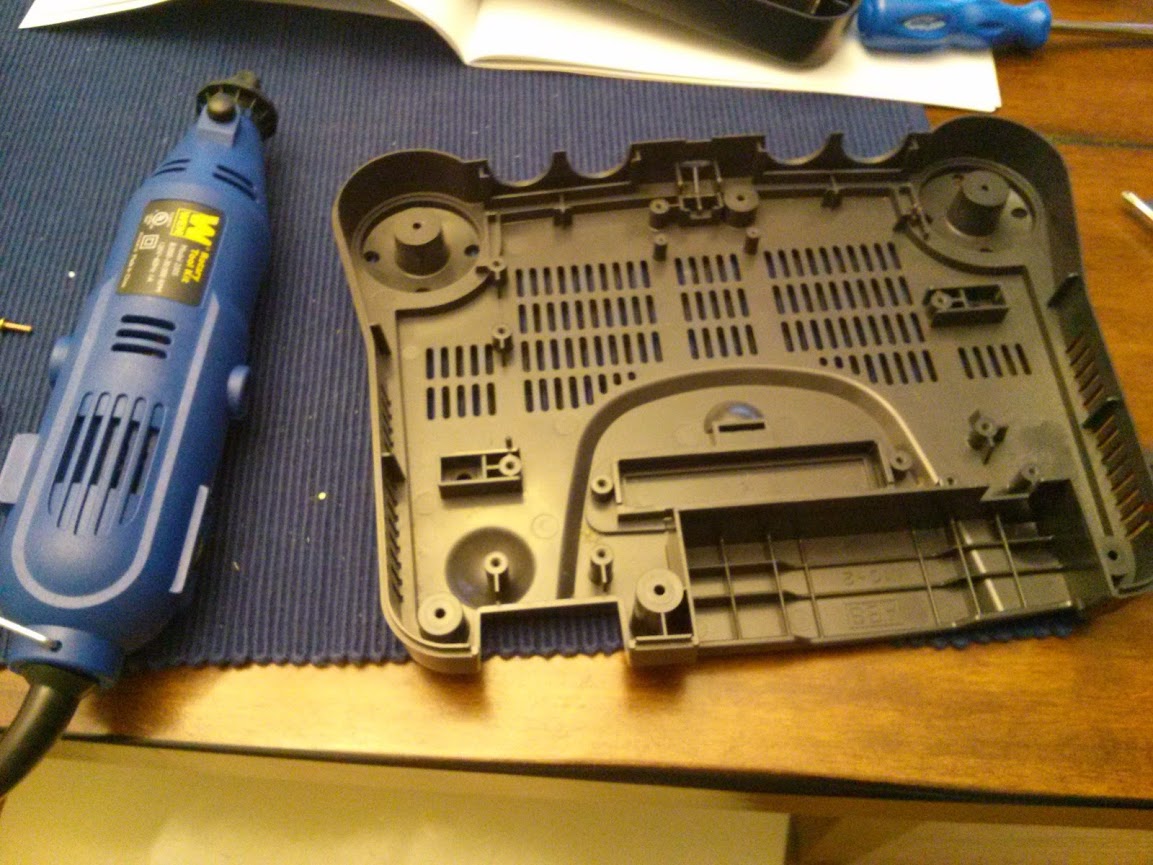
We need to grind this down.
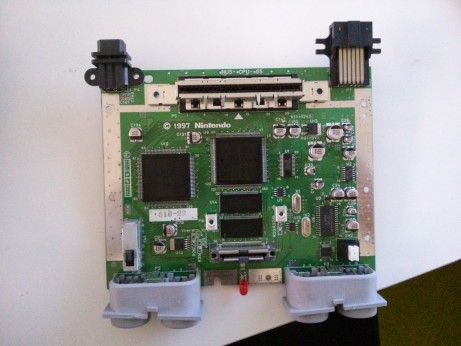
Above this is a picture of an N64, gutted and laid bare to the word. As you can probably see, it’s full of a bunch plastic bits that stick up, which is not the best when trying to put a computer motherboard in there. To the left of the N64 is a trusty rotary tool which was then used to grind down, cut away, and generally carve the N64 case into something usable. Once done, we finally have something that fits like shown below.
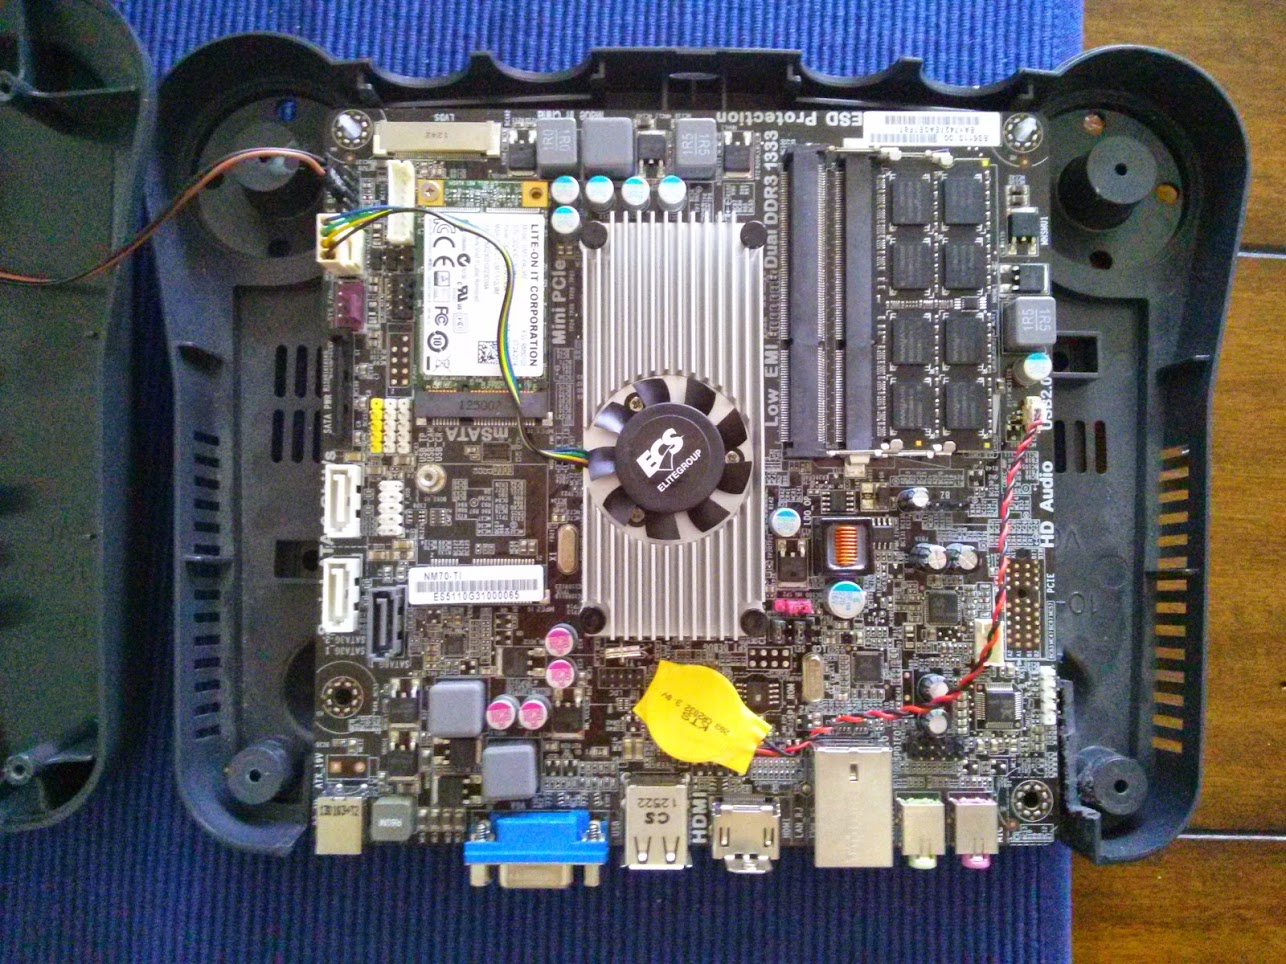
The computer in all its tiny glory.
Mounting it inside the case from this point was fairly easy, I used some hotglue to hold down some white mounting feet (you can see them in the top left and right corners). The motherboard snaps onto the feet, and sits snugly enough inside the case that it wont move around. From here, I just had to hook up the power switch so we can turn the thing on and off easily (I was using a screwdriver up to this point to bridge a connection between some pins on the motherboard).
This was actually much easier than I though it would be. Using a standard PC start button, I was able to secure it (again, hotglue) in a way that the power toggle button from the N64 would press it. You can see it secured in the picture below.
Pillar on the switch hits the button.
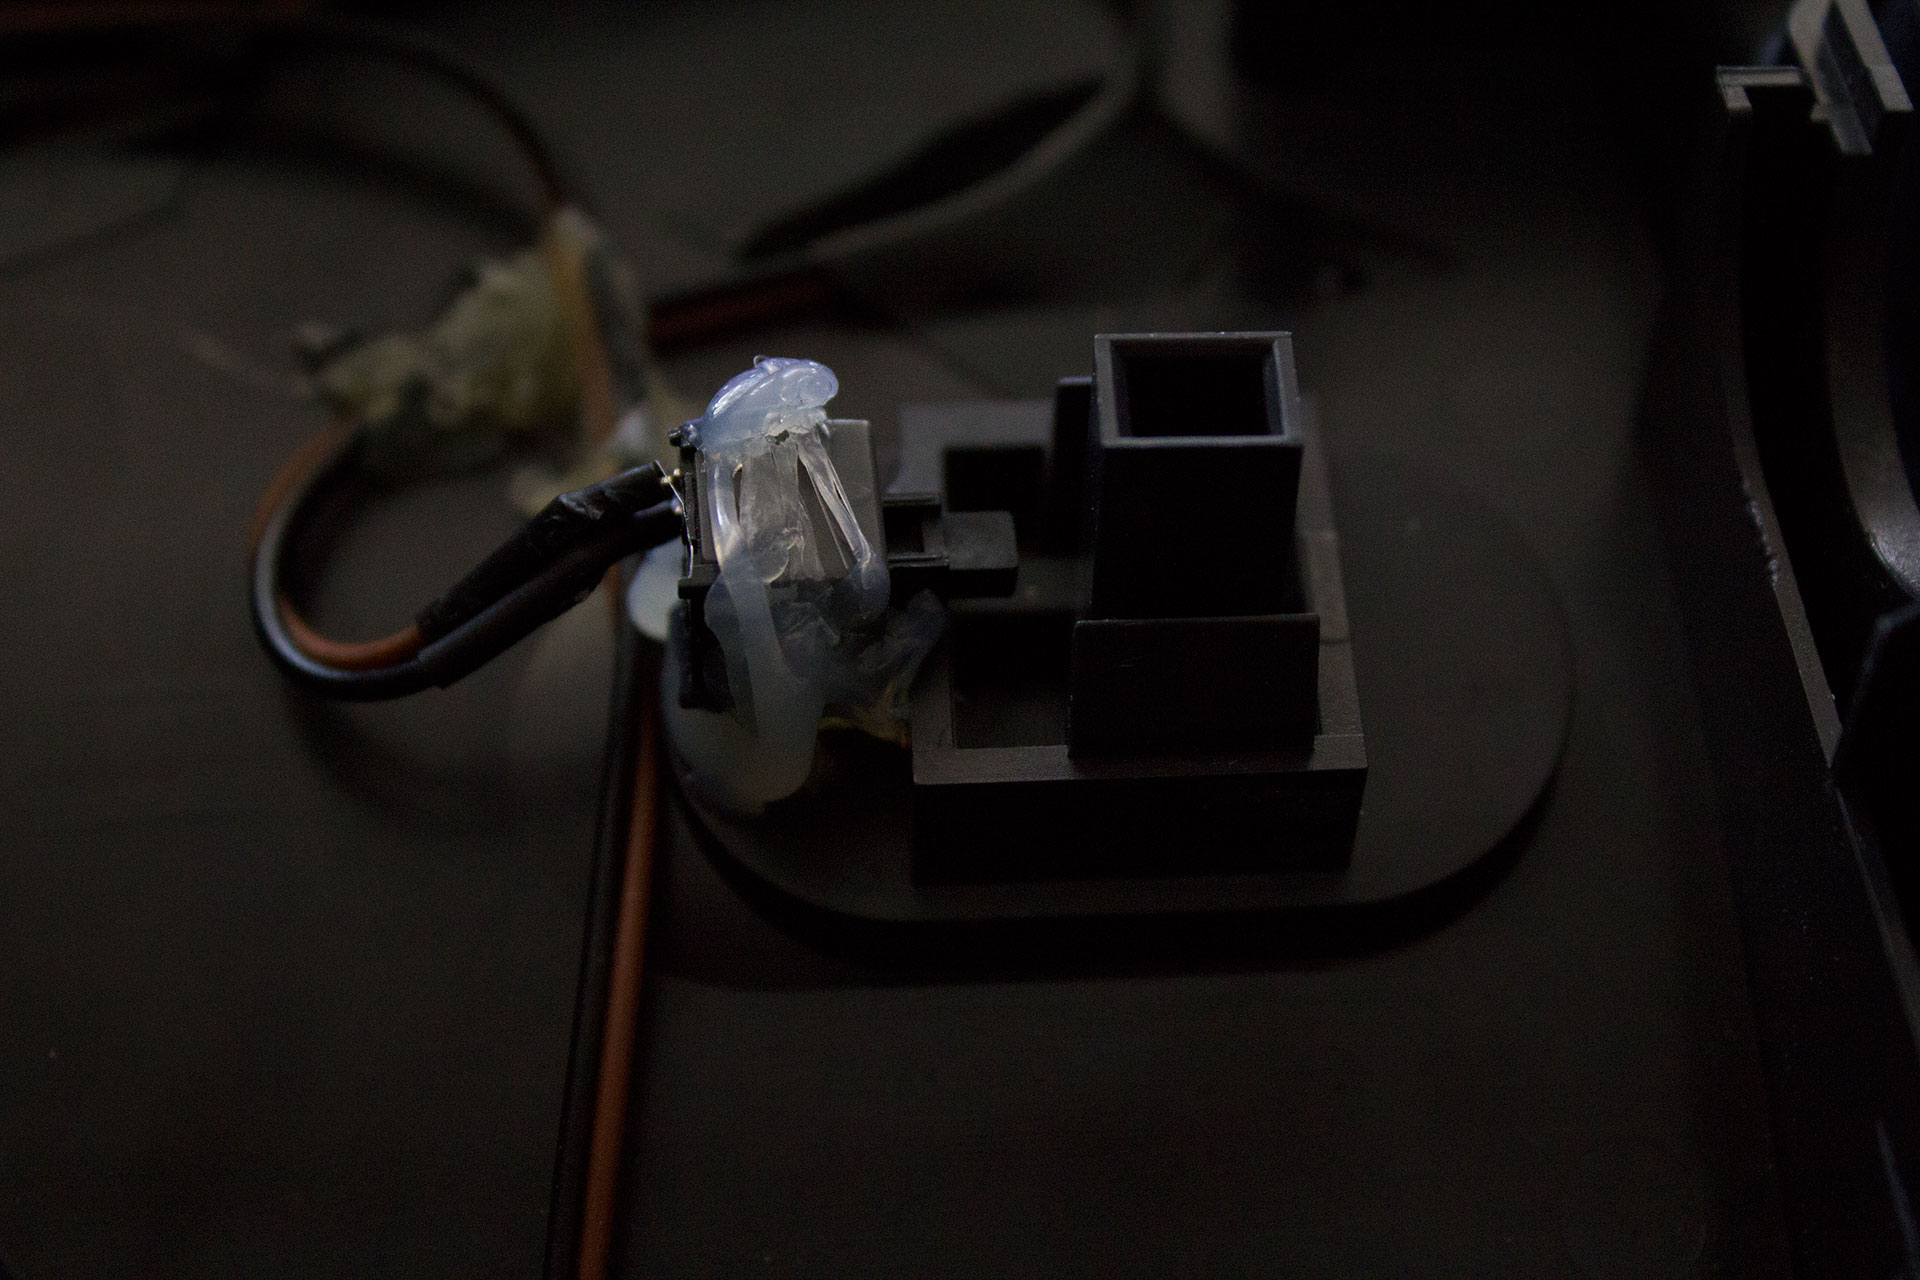
One of my biggest disappointments/failures in the project was the inability to hook up all the ports on the front to USB. There simply wasn’t enough clearance to hook them all up. Even with the one port I manage to hook up, I had to strip the wire down to almost nothing (which you can see below).
Either way, the hardware bits are done and it runs. I even managed to route a light underneath to where the original N64 power light was, so it indicates when it is on.

That is one ugly USB port.
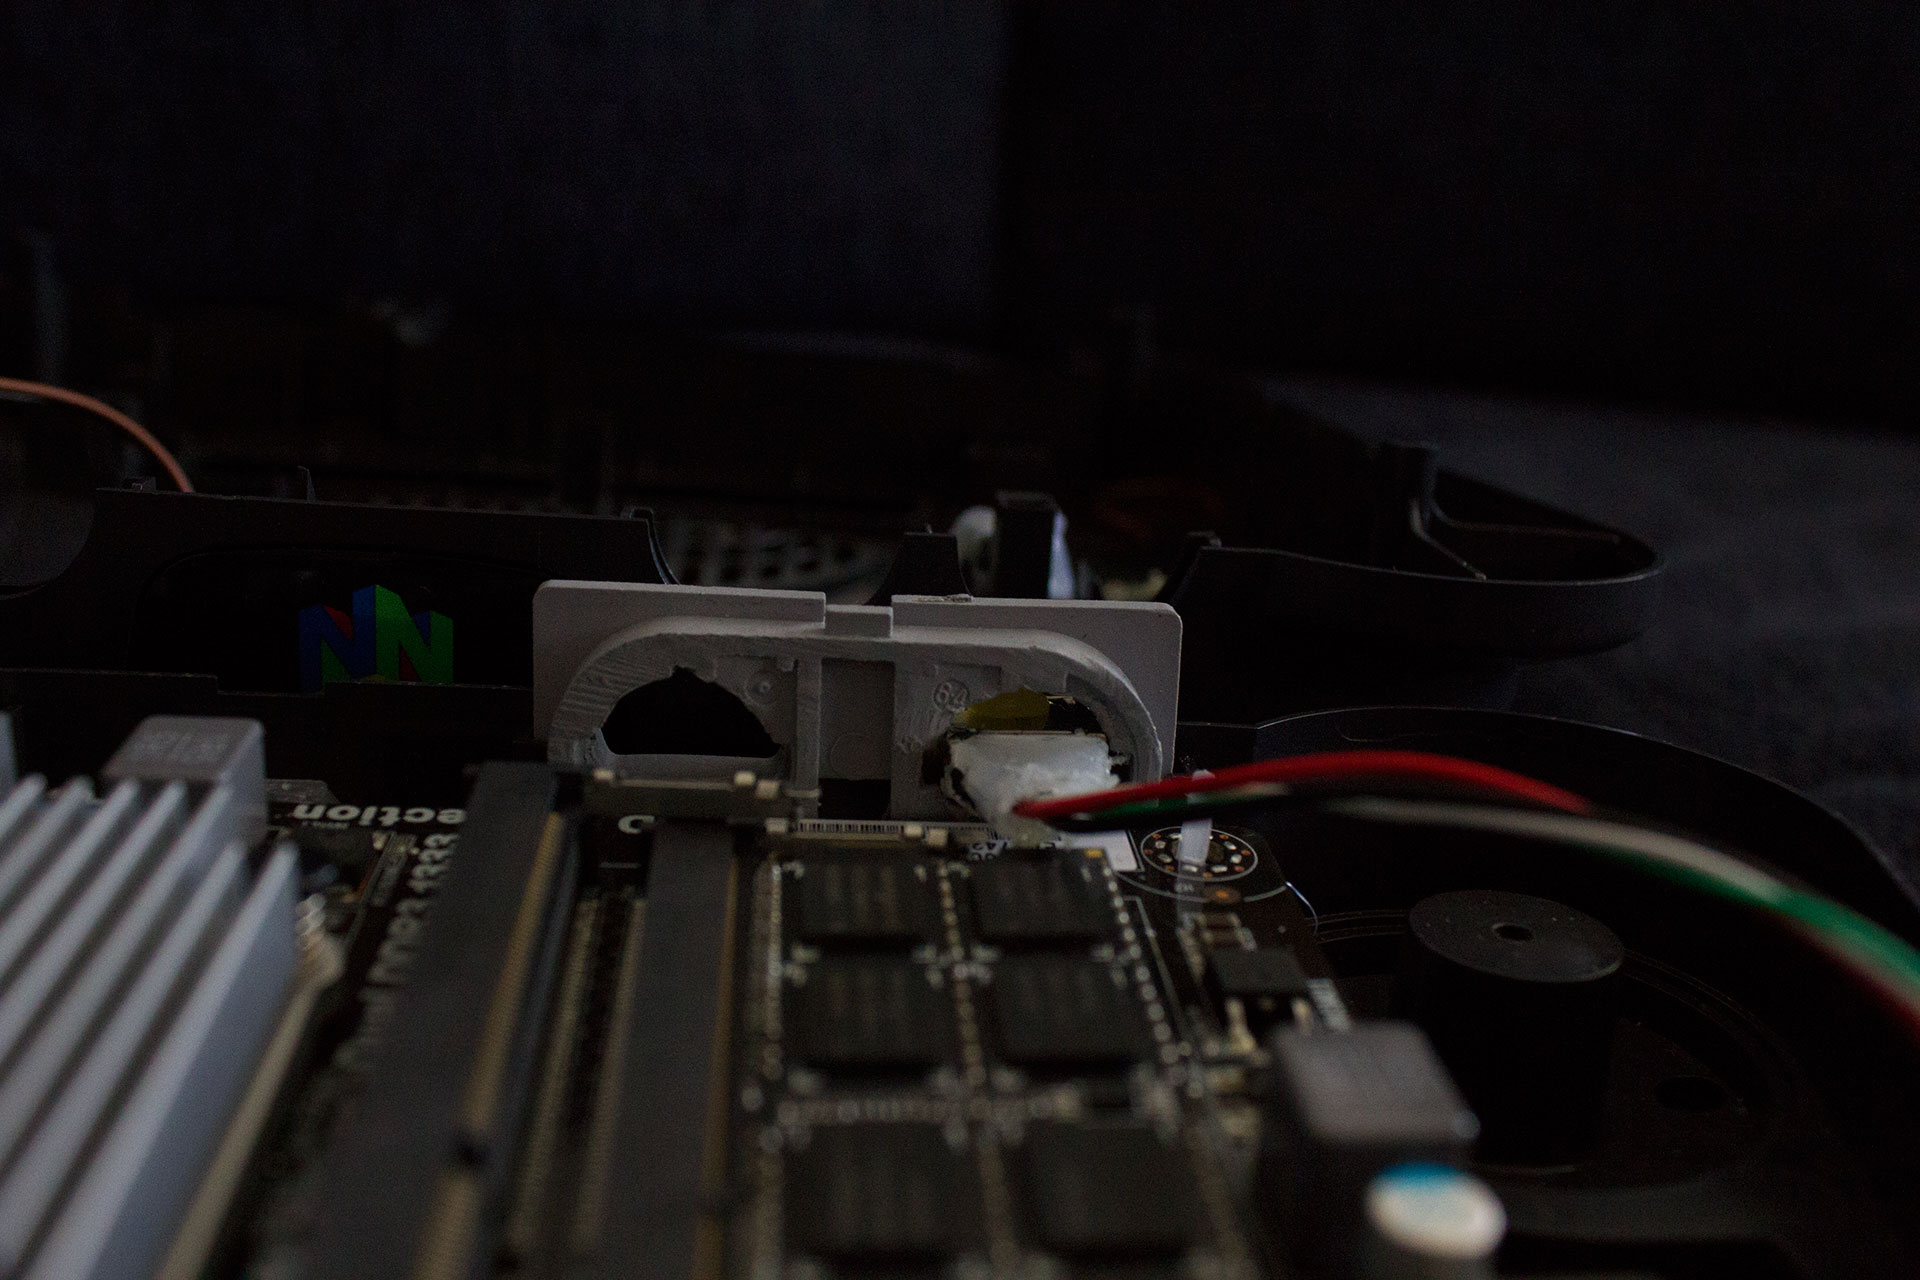
There wasn’t enough clearance in the case to wire up the reset button either, but it’ll have to do.
Stay tuned for the next post where I go over the software used to make it all run!
Jason Lamb
Jason is a PC Gaming aficionado from the Great White North. You can follow him on Twitter @jasonlamb.
See all posts by Jason Lamb