PC Master
Your first (budget) gaming PC
So you’re interested in building a gaming PC, eh? Over the next few weeks, we’ll be delving into the big wide world of PC gaming with you, and will be detailing exactly what you need to start. We’ll cover hardware choices, how to get those retro PC games up and running, how to connect it to your TV, etc.
Before we start considering any of the gaming aspects of the machine, let’s discuss the hardware you’ll need. Trying to keep it within a reasonable budget, we’ll set a price of around $400 (comparable to consoles) for your first machine. Read on as we go through a list of hardware choices that are right for your budget PC gaming needs.

This chip will be your budget-wise friend.
For most people, the most overwhelming part of PC gaming, and PC’s in general, is the hardware aspect. What parts do we need? Is a Radeon 6450 better than a Geforce 520? Hell, knowing what either of those things are would confuse most consumers. So let’s go over some good hardware choices, and let’s keep it cheap.
1. The first thing you’ll need to do when building a PC, is to choose your CPU. Essentially, you have to choose from two major manufacturers. Intel increasingly has a foothold on performance, with their CPUs routinely outperforming rival AMD’s chips. AMD, however, is renowned for their budget-conscious CPU’s, who give a large “bang for the buck.” With a budget PC in mind, I’m going to suggest AMD’s A6-3500 ($79.99) for three reasons. For one, it’s cheap. For $79.99, you’ll be getting a triple core CPU, which will allow you to run a large selection of games. Reason number two, it’s low wattage. This means your electricity bill will be nice and low at the end of the month. And number three, and perhaps most importantly, it’s not a traditional CPU. In fact, AMD market’s this as an APU (Accelerate Processing Units). This means that the chip has a Radeon 6530 video card already built in. This is fantastic, as we’re trying to keep the cost of our build down, and this means we won’t have to buy a separate video card. However, for those wanting a little more power down the road, you can eventually put a discrete AMD video card in, and the two will actually run in tandem. Current total spent so far: $79.99
2. Next, the motherboard. This is the piece of hardware that will be the “nervous system” of your computer. The motherboard is the central piece into which all the components of your computer are connected. As we selected the A6-3500, we will need to choose something that supports the APU’s FM1 socket type. A socket type is the type of connector that will attach the CPU/APU to the motherboard. You need o pay attention to the socket type as there are difference sockets for different CPU/APU series. For this, I’m going to suggest the Gigabyte GA-A75M-S2V motherboard. It has a competitive price ($79.99), is from a reputable company, and has a great set of features. The board supports USB 3, SATA 6 (recommended for solid state drives), and you’ll even be able to do up to 7.1 channel surround sound. Current total spent so far: $159.98
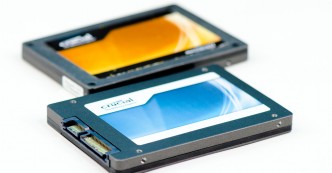 3. Let’s talk about a hard drive now. Increasingly, the PC market is adapting solid state drives. These are typically made up of a type of flash memory, and thus the drives have no moving parts, unlike traditional magnetic storage drives. For this, I’m going to suggest the Crucial M4 (64gb) ($76.99). Yes there are cheaper drives, but Crucial’s M4 line is well respected, and it will utilize the SATA 6 on the motherboard. The 64gb should also be all we need to do some gaming. Current total spent so far: $236.97
4. RAM. What can I say about RAM? I won’t get into the details (RAM timing, etc.), so lets just say any RAM will do. Here is a 4gb stick of Mushkin RAM ($19.99) That 4gb should be plenty enough for our gaming needs. Current total spent so far: $256.96
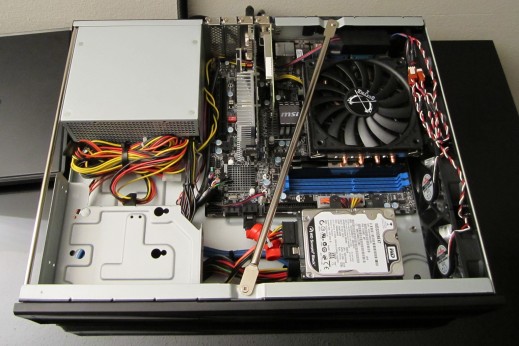
5. The case I’m going to recommend you is not a standard PC tower, but is instead designed for HTPCs (home theatre personal computers) in mind. HTPCs generally have the form factor of a blu-ray player, or any other home theatre equipment, rather than a full-sized desktop computer. That means it will fit nicely under your TV, if you choose to put it there (it’s always nice to have options). Thus, I suggest the Silverstone MILO ($69.99), which I actually have for my HTPC. It has enough room for our selected parts, and has dual USB 3 ports on the front. Current total spent so far: $326.95
6. Last but not least, we need a power supply. Again, we’re going for a budget setup, so I’m not going to bother suggesting a performance power supply. This Rosewill Stallion PSU($34.99) should more than fit your needs.

Welcome, brothers!
Grand total spent: $361.94
Wow, there we go! A complete gaming PC for only $361.94. This build is actually pretty similar to what I am currently using for a HTPC setup, and I’ve been able to do quite a bit of gaming on it. Now, don’t expect to run Battlefield 3 at 60fps, but your retro games should have no problems running. If you’re not quite sure what it will be able to run, YouTube the APU we selected. You’ll be able to see people play games like Dead Space 2, etc. with no problem. But we’re doing this for retro games, right?
Ah! During editing, I just realized I forgot to add an optical drive. I’m so used to everything being digital now, I forgot you may want/need one. I would suggest a Samsung for $17.99. The cheapest one you can find will do. You may also want to spend a little more money on your motherboard if you would like integrated HDMI out. Again though, this is a budget build.
Stay tuned, as next week I’ll go over what to do with your new gaming PC!
Read the rest of this series: Part 2 | Part 3
Jason Lamb
Jason is a PC Gaming aficionado from the Great White North. You can follow him on Twitter @jasonlamb.
See all posts by Jason Lamb